




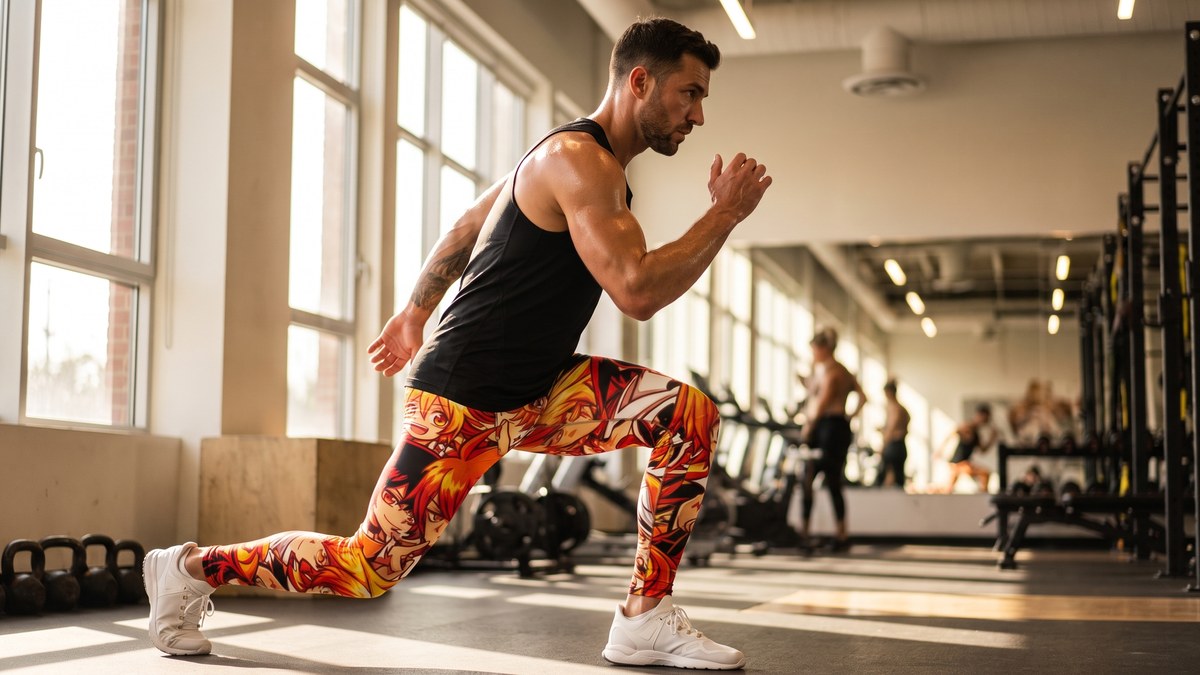
It is a common scenario: you unpackage a brand new pair of vibrant, comfortable leggings, eager to hit the gym or simply relax, only to find they are a few inches too long. The fabric bunches at your ankles, sometimes even dragging on the floor. This minor inconvenience can dampen the excitement of new activewear. While many consider sewing the only permanent solution, there are effective, no-sew strategies for when your leggings too long. You can achieve a polished, custom-fit look without ever touching a needle and thread.
Dealing with extra fabric at the ankle does not mean compromising your style or comfort. Whether you prefer a clean line or a subtle scrunch, these methods offer practical solutions that maintain the integrity and look of your favorite GearBunch leggings. We are here to guide you through some clever tricks to shorten leggings no sew, ensuring your activewear always fits just right.
Why Leggings Might Be Too Long
Leggings, like most apparel, are manufactured to standard inseam measurements. However, human bodies are wonderfully diverse. What constitutes a standard length for one person might be too long or too short for another. Factors like your height, the length of your legs relative to your torso, and even your preferred ankle exposure can all influence how a pair of leggings fits.
Many brands, including GearBunch, produce leggings with a generous inseam to accommodate a wider range of heights. This ensures that taller individuals can also enjoy full-length coverage. For those with shorter legs, this means a little extra fabric. The goal is to make that extra fabric work for you, not against you.
Effortless No-Sew Fixes for Overly Long Leggings
Ready to tackle those extra inches without a sewing machine? These methods are simple, quick, and require minimal supplies.
The Classic Cuff
The cuff is perhaps the most straightforward and stylish way to manage excess legging length. It is versatile and works well with almost any type of legging, especially those with bold prints that you want to showcase.
- Single Cuff: For a clean and subtle adjustment, simply fold the hem of your legging upwards once. Aim for a cuff of 1-2 inches, depending on how much length you need to take up. Smooth it out for a crisp line. This works particularly well with solid colored leggings or those with a seamless pattern like our Anime Collage Retro Shojo Leggings, offering a neat finish.
- Double Cuff: If you need to shorten your leggings more significantly, a double cuff provides additional reduction. Fold the hem up once, then fold it up again. This creates a slightly thicker cuff but offers greater length adjustment and a more secure hold. This can add an interesting detail, especially if the inside of your legging provides a subtle contrast.
- Wide Cuff: Sometimes, a bolder statement is in order. A wider cuff, perhaps 3-4 inches, can transform the look of your leggings, almost giving them a capri-like feel while still covering a good portion of your calf. This style can be particularly striking with some of our more intricate patterns.
Pro Tip: Ensure your cuffs are even on both legs for a balanced appearance. A quick glance in the mirror will confirm a symmetrical look.
The Boot Tuck
When you are wearing boots, especially taller styles like combat boots or knee-high boots, tucking your leggings provides an instant, no-fuss solution for extra length. This method keeps your leggings neatly contained and prevents bunching around your ankles outside the boot.
- Simple Tuck: Simply pull your leggings down over your feet and then pull your boots on. The boot shaft will naturally hold the excess fabric in place.
- Fold and Tuck: For very long leggings or tighter boots, you might need a small fold. Pull the legging down, then fold any significant excess fabric upwards towards your shin before pulling your boot on. This creates a smoother line and prevents uncomfortable pressure points.
The boot tuck works seamlessly with various leggings, from performance styles to our fashion-forward prints like the Anime Collage Fire Spirit Meggings, ensuring a sleek appearance even when worn with bulky footwear.
Iron-On Hem Tape: A Semi-Permanent Solution
For those who desire a more lasting alteration without sewing, iron-on hem tape is a fantastic invention. It provides a clean, secure hem that holds up through washes and wears, offering a true leggings length fix.
What You Will Need:
- Iron-on hem tape (often available at craft or fabric stores)
- An iron
- Ironing board
- Measuring tape or ruler
- Fabric scissors
- Pins (optional, but recommended for precision)
Step-by-Step Guide:
- Try Them On and Mark: Put on your leggings and decide exactly how much length you want to remove. Fold the hem up to your desired new length. Use a pin to mark the new fold line on the inside of the legging. Take them off.
- Measure and Trim (Optional): If you are removing a significant amount of length (more than 2-3 inches of excess), you might want to carefully trim some of the fabric, leaving about an inch extra beyond your marked fold line. This creates a neat, less bulky hem. If you are only taking up a small amount, you can skip trimming and just fold.
- Prepare the Hem: Turn your leggings inside out. Fold the hem up to your desired length, using your previous mark or measurement. If you trimmed, fold the raw edge inwards by about half an inch first, then fold up to your final desired length. Press this fold flat with your fingers or a cool iron to create a crease.
- Apply Hem Tape: Unfold the last crease. Place the iron-on hem tape along the edge of the original hem, or just inside the first fold if you did a double fold. Ensure it runs smoothly around the entire circumference.
- Iron It Down: Fold the hem back up over the tape. Following the instructions on your hem tape packaging, press the iron firmly onto the folded hem for the recommended duration (usually 10-15 seconds per section). The heat activates the adhesive, bonding the fabric together. Work your way around the entire ankle.
- Cool and Test: Allow the hem to cool completely before wearing or stretching. This allows the adhesive to set properly. Once cool, test the strength of your new hem.
This method creates a semi-permanent fix that is durable enough for active wear. GearBunch leggings, known for their premium quality and ability to never lose their stretch, respond well to this method, maintaining their smooth finish.
The Hair Tie or Elastic Band Trick
For a truly temporary and quick fix, especially if you are in a pinch, hair ties or small elastic bands can come to the rescue.
- Put on Leggings: Wear your leggings as usual.
- Gather Excess: Gather the excess fabric around your ankle.
- Secure with Tie: Wrap a hair tie or elastic band firmly around the gathered fabric, just above your ankle bone, tucking the extra fabric underneath.
- Adjust: Adjust the gathered fabric to create a small, neat scrunch or a clean fold over the tie.
This trick is ideal for an impromptu workout or casual wear and is easily reversible. It is perfect for those moments you realize your Arabic Cherry Blossom Meggings are a bit long before heading out.
Embrace the Scrunch
Sometimes, the best solution is to embrace the extra length. For many, a slight scrunch at the ankle is a desirable look, especially with patterned or textured leggings. This can add a relaxed, casual vibe to your outfit.
- Natural Scrunch: Simply pull the leggings down and allow the fabric to naturally gather around your ankles.
- Styled Scrunch: For a more deliberate look, gently pull the leggings up your calves a few inches, then push the fabric back down to create an even, soft scrunch effect above your ankle.
This method works beautifully with GearBunch's bold, vibrant prints, allowing the pattern to subtly gather and flow, adding dimension to your look.
Beyond the Fix: The GearBunch Difference
At GearBunch, we understand that while fit is crucial, so is quality and unique style. Each pair of our leggings is hand-cut and sewn to order. This made-to-order production means no mass manufacturing and no dead stock, ensuring attention to detail in every vibrant design. Our loyal customers consistently praise the premium quality, noting how our leggings "feel like butter," are "like a second skin," and are reliably "squat-proof" and "not see-through." Many have stated, "I've been ordering for years and won't wear any other brand."
With over 3,900 prints in our library, from novelty trompe l'oeil designs to spiritual motifs and our wildly popular Sugar Skulls, you are sure to find a print that speaks to your bold identity. While these no-sew fixes are helpful for length adjustments, you can always trust in the superior fabric and construction of your GearBunch activewear to look fantastic, however you choose to wear it.
Find Your Perfect Fit and Style
Dealing with leggings that are too long does not have to be a major undertaking. With these simple, no-sew methods, you can customize the length of your activewear to suit your preference and activity. Whether you choose a classic cuff, a secure boot tuck, the lasting hold of iron-on hem tape, a quick hair tie fix, or embrace a stylish scrunch, your leggings will always look and feel great.
Ready to explore leggings that combine unparalleled style with quality you can trust? Browse the extensive collection of bold and vibrant activewear at GearBunch. Discover your next favorite pair and experience activewear that empowers you to move with confidence and unique flair. Find your perfect fit, your perfect print, and make a statement with every stride.
Share and get 15% off!
Simply share this product on one of the following social networks and you will unlock 15% off!