




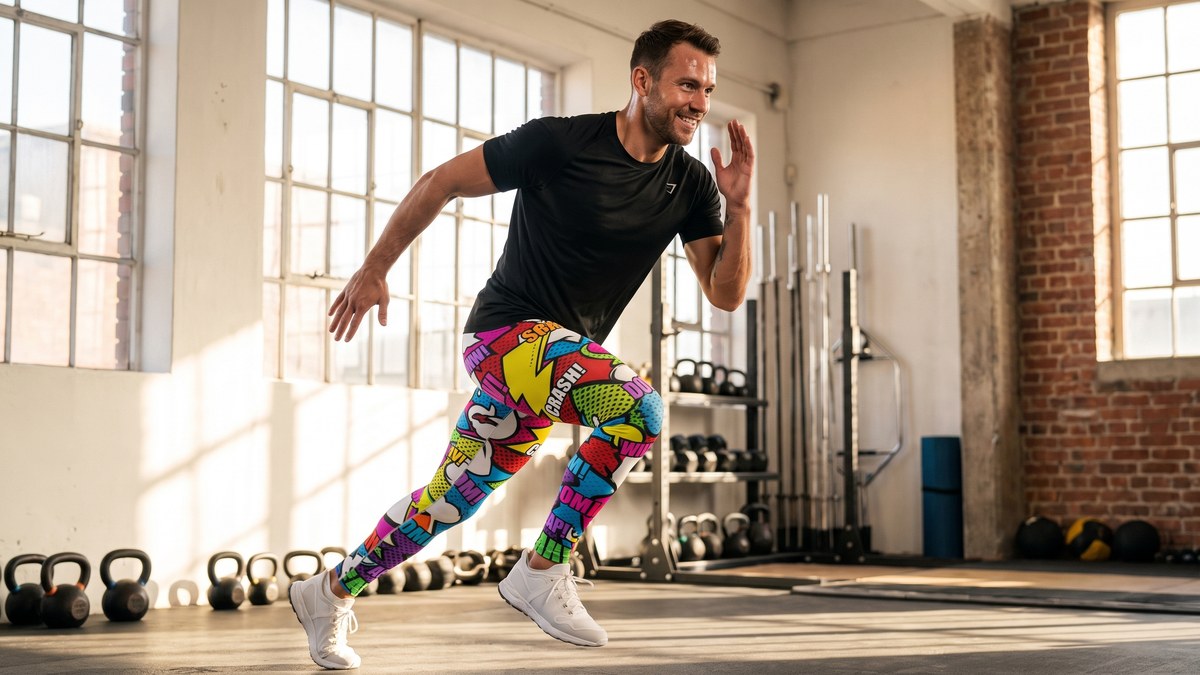
Your favorite pair of men's leggings, the ones that feel like a second skin, now has a hole. It happens. Whether a small snag or a tiny tear, finding a hole doesn't have to signal the end of your activewear's journey. Before retiring them, know there are effective, no-sew solutions to repair a hole in men's leggings, extending their lifespan and maintaining your style.
At GearBunch, we craft activewear for durability and performance, each pair hand-cut and sewn to order. We understand your bond with high-quality leggings. When minor damage occurs, our goal is to empower you with the knowledge to bring them back to life. This guide offers confident, practical, no-sew methods to mend those pesky holes, ensuring your meggings stay in your rotation for more adventures.
Why Repair Instead of Replace Your Meggings?
Repairing your leggings offers multiple benefits. It is a sustainable choice, reducing textile waste. It preserves the sentimental value of meggings that have seen you through epic training sessions. Quality activewear, like GearBunch pieces, is an investment. Extending that investment with a simple fix makes financial sense. They feel like butter and never lose their stretch, so why give up prematurely?
Before You Begin: Assess the Damage
Not every hole is a candidate for no-sew repair. Before you begin, evaluate the damage:
- Size of the Hole: Small tears, snags, and pinholes are ideal. Larger rips, especially over an inch or two, challenge seamless repair without professional sewing.
- Location of the Hole: Low-stress areas (thigh, shin) are easier. Tears near seams, crotch, or high-flex zones (knees) are trickier due to constant stretching.
- Fabric Condition: Is the fabric around the hole strong, or thin and frayed? Compromised material might prevent effective adhesion or lead to further tearing.
- Aesthetic Expectations: Do you seek an invisible repair or accept a visible patch? Your expectation guides your method choice.
- Travel Care for Men's Leggings: Hotel Sink Wash Method
- Men's Leggings at Work: The Dress Code Question
- Why Some Guys Hate Leggings on Other Men (Honest Take)
- The Worst Things People Say About Men in Leggings (And Why They're Wrong)
- Men's Leggings in Music: From Hair Metal to K-Pop
- Men's Joggers vs Leggings: Which Wins at the Gym?
- Men's Leggings vs Compression Shorts: When to Use Each
- Sweatpants vs Leggings for Men: The Honest Comparison
- Men's Track Pants vs Leggings: Performance Breakdown
- Men's Yoga Pants vs Leggings: What's the Actual Difference?
- Activewear for women over 40
- Activewear for women plus size
- Women's activewear sale
- Printed leggings australia
- Squat proof leggings
- Squat proof leggings australia
- Squat proof leggings women
- Squat proof leggings with pockets
- Squat proof leggings nz
- Squat proof leggings uk
- Squat proof leggings meaning
- Squat proof leggings amazon
- Leggings outfit
- Leggings outfit ideas
- Leggings outfit ideas for ladies
- Leggings outfit ideas 2026
- How to Prevent Camel Toe in Leggings: 7 Fixes That Actually Work
- Why Are My Leggings See-Through? Test Before You Buy
- Do Gusseted Leggings Really Prevent Camel Toe?
- Are Seamless Leggings Worse for Camel Toe? Honest Answer
- High-Waisted Leggings and Camel Toe: What's the Connection?
- Squat-Proof Leggings Under $50: The Buyer's Checklist
- Leggings vs Yoga Pants: The Real Difference in 2026
- Jeggings vs Leggings vs Pants: Which Is Which?
- Compression Leggings vs Regular Leggings: When to Wear Each
- Tights vs Leggings: When to Choose One Over the Other
- Bike Shorts vs Leggings: Which Wins for Your Workout?
- High-Waisted vs Mid-Rise Leggings: Real Fit Comparison
- Capri vs Full-Length Leggings: When Each Wins
- Meggings vs Men's Compression Tights: The Comparison
- Are Leggings Appropriate for School? A Parent-Friendly Guide
- Can You Wear Leggings on a Date? 5 Outfit Formulas
- Leggings for Business Casual: Making It Actually Work
- How Often Should You Actually Wash Leggings?
- Why Do My Leggings Pill? How to Stop It
- What to Wear to Thanksgiving: Leggings-First Outfit Formulas
- Post-Turkey Walk: Comfy Leggings for the Family Stroll
- Family Thanksgiving Photos: Matching Leggings Outfits
- Black Friday Leggings Deals: How to Spot Real Discounts
- Black Friday Leggings Mistakes to Avoid
- Best Time to Stock Up on Basic Black Leggings
- Cyber Monday Athleisure Deals: What's Actually Worth It
- Christmas Gifts for Mom: Comfort Leggings She'll Actually Wear
- Ugly Christmas Leggings for the Family Party
- Christmas Morning Leggings: Cozy PJ-Adjacent Guide
- Christmas Eve Outfits: Leggings for Church and Family
- Christmas Photo Outfits: Leggings the Camera Loves
- Christmas Dinner Outfits: Elevated Leggings Formulas
- Resolution Leggings: Building the Basic Kit
- Fleece-Lined Leggings Winter Guide: When Fleece Is Worth It
- Easter Leggings: Pastel Prints for the Family Photo
- 4th of July Leggings: Patriotic Without Overkill
- Back-to-School Mom Leggings Kit: The Drop-Off Uniform
- Leggings for a First Date: 5 Outfit Formulas That Work
- Concert Outfit With Leggings: Statement Without Trying
- Brunch Outfit Ideas With Leggings
- Grocery Run Outfits With Leggings That Look Considered
- Best Maternity Leggings for Every Trimester
- Postpartum Leggings: What Actually Fits After Baby
- Menopause Leggings: Temperature-Regulating Picks
- Leggings for Working from Home With a Baby
- Long Sweater Outfits With Leggings: 7 Formulas
- Oversized Shirt Plus Leggings: The Boyfriend Look
- Pilates Leggings: Reformer-Friendly Fabric Picks
- Stroller Running Leggings for New Moms
- Ice Skating Practice Leggings: Warmth Plus Movement
- Aerial Silks Leggings: Grip and Compression
- Varicose Vein Leggings: Compression That Actually Helps
- Lower Back Pain Leggings: Support Without Squeeze
- Knee Support Leggings: When You Actually Need Them
- Men's Leggings Buyer's Guide 2026: Fit, Fabric, Function
- Are Men's Leggings the Right Base Layer? Season by Season
- Men's Leggings: One Pair for Both Gym and Street
- Men's Leggings Sizing: Why Waist-First Beats Length-First
- Men's Leggings Warranty and Returns: What Good Brands Offer
- Men's Leggings for Outdoor Adventure: Trail, Water, Cold
- Men's Leggings and Performance: What the Data Actually Shows
- Men's Leggings First-Time Wearer FAQ
- Men's Leggings and Body Confidence: Real Talk from Wearers
- Spandex vs Lycra vs Elastane: Are They the Same Thing?
- Denim Leggings vs Jeggings vs Skinny Jeans: The Difference
- Running Tights vs Leggings: When Each Wins
- Cotton vs Polyester Leggings: Fabric Comparison
- Warm-Up Pants vs Leggings: For the Cold Session
- Bike Shorts vs Biker Shorts vs Long Bike Shorts: The Differences
- What Is Nulu Fabric? Lululemon's Signature Explained
- What Is Powersoft? Old Navy's Legging Fabric Explained
- Merino Wool Leggings vs Synthetic: Real Comparison
- Moisture-Wicking Science: How Leggings Actually Move Sweat
- Leggings for Pear-Shaped Bodies: Balance and Flow
- Leggings for Apple-Shaped Bodies: Waistband Focus
- Leggings for Hourglass Figures: Highlight Without Squeeze
- Leggings for Inverted Triangle Shapes: Balance Below
- Waistband Dig Marks: Why They Happen and How to Prevent
- Why Do Leggings Smell After a Few Wears?
- Thigh Chafing in Leggings: Real Fixes That Work
- Waistband Chafing in Leggings: The Overlooked Fix
- Leggings That Don't Stretch Out: Buying the Right Fabric
- How Long Do Leggings Last? Real Lifespan Data
- Iron, Steam, or Neither: Get Wrinkles Out of Leggings
- Is It OK to Sleep in Leggings? Circulation, Comfort, Bacteria
- Are Leggings Bad for You? The Honest Medical Answer
- Do Tight Leggings Cause Yeast Infections? What Doctors Say
- Compression Leggings and Circulation: Help or Harm?
- How Tight Should Leggings Be? The Two-Finger Waistband Test
- Why Do My Leggings Roll Down and How to Fix It
- What to Do When Leggings Are Too Long (No Sewing Required)
- Leggings outfits for work
- Leggings outfit summer
- Leggings outfit for jogging
- Best leggings for yoga reddit
- Best leggings for yoga women
- Best leggings for yoga sculpt
- Best pants for yoga women
- Squat proof leggings canada
- Leggings outfit ideas 2025
- Halloween Leggings With Pockets: Practical Spooky Wear
- Plus-Size Halloween Leggings: The Honest Fit Guide
- Butter Yellow Leggings: The Modern Styling Guide
- Styling White Leggings: Not Transparent, Not Dated
- Red Leggings: Statement Without Overkill
- Chocolate Brown Leggings: The Autumn Essential
- Styling Monochrome Leggings Outfits: Head-to-Toe One Colour
- Bright Leggings: When Loud Colour Is the Right Call
- Plus-Size Leggings for Running: Honest Fit Guide
- Plus-Size Workout Leggings That Hold Up to HIIT
No-Sew Repair Method 1: The Power of Fabric Glue
What You Will Need:
- Flexible, permanent, washable fabric glue
- Small scrap fabric (matching or contrasting)
- Wax paper or plastic bag
- Clamps or heavy books
- Scissors
- Rubbing alcohol (optional, for cleaning)
Step-by-Step Guide to Using Fabric Glue:
- Prepare the Area: Lay meggings flat, turn inside out. Clean the area around the hole with a damp cloth or rubbing alcohol. Allow to dry.
- Insert a Barrier: Place wax paper or a plastic bag inside the legging, under the hole, to prevent sticking.
- Position the Patch: Cut scrap fabric slightly larger than the hole, overlapping by at least half an inch. Place on the inside, centered over the hole.
- Apply the Glue: Apply a thin, even layer of fabric glue around the edges of the hole on the legging, and on the patch edges. Press firmly.
- Flatten and Cure: Place wax paper over the outside of the repair. Apply firm, even pressure with clamps or heavy books. Allow to cure per manufacturer's instructions (24-72 hours).
- Check and Finish: Once fully cured, remove wax paper. For active garments, consider an extra line of glue around patch edges for security.
This method works well for smaller tears in less visible areas, offering a flexible, durable bond that stands up to movement.
No-Sew Repair Method 2: Iron-On Patches for Quick Fixes
What You Will Need:
- Iron-on patch (for activewear or stretchy fabrics)
- Iron
- Ironing board
- Pressing cloth (thin towel or pillowcase)
- Scissors
Step-by-Step Guide to Using Iron-On Patches:
- Prepare the Area: Lay meggings flat. Trim loose threads. Gently push frayed edges inward. Ensure area is clean and dry.
- Pre-heat the Iron: Set iron to medium-high for polyester-spandex. Test if unsure. Do not use steam.
- Cut and Position the Patch: Cut patch slightly larger than the hole, overlapping by at least half an inch. Round corners. Place adhesive side down over the hole.
- Apply Heat: Place pressing cloth over patch. Press hot iron firmly onto cloth, over patch. Hold for 10-20 seconds per instructions. Do not move iron.
- Cool and Re-press: Lift iron, allow to cool. Check adhesion. Repeat heating if needed, pressing for 5-10 seconds. Press from inside if necessary.
- Test the Bond: Once cooled and attached, gently stretch fabric around the patch to ensure it holds.
Iron-on patches offer robust repair, often with fun designs. Imagine fixing a tear on your Comic Strip Graffiti Street Meggings with a cleverly placed contrasting patch, adding to its unique aesthetic. Or blending a subtle repair into your Gold Paillette Rose Garden Meggings with a dark, stretch-compatible iron-on.
Advanced Tips for No-Sew Leggings Repair
- Reinforce with Backing Fabric: For larger holes or high-stress areas, add stretchable backing fabric behind the hole before applying your main patch or glue for extra stability.
- Layering Patches: For truly secure repairs, apply a small piece of fabric glue on the inside, then an iron-on patch on the outside, creating a multi-layered barrier.
- Pre-wash Patches: If using fabric glue with new scrap fabric, pre-wash to prevent shrinkage that could pull at your repair after the first wash.
- Test Adhesion: Always do a gentle stretch test on the repaired area once cured or cooled to verify the bond before activewear.
When It's Time to Retire or Replace Your Meggings
While no-sew methods are effective, there are times a repair might not be the best solution. Knowing when to confidently say goodbye is part of smart activewear management.
- Extensive Damage: Very large holes, or damage in critical structural areas like the waistband or major seams, often compromise garment integrity too much for a reliable no-sew fix.
- Fabric Degradation: If the fabric is thinning, pilling excessively, or losing elasticity across a wide area, repairs will be temporary. GearBunch leggings are known to be "squat-proof" and incredibly durable, but even premium materials have a lifespan.
- Compromised Performance or Aesthetics: If a repair hinders comfort, the 'like a second skin' feel, or significantly detracts from the look of a vibrant print, such as our Kawaii Rainy Day Meggings, replacement is a valid option.
A well-loved pair of leggings eventually reaches its natural end. Replacing them with a new, high-quality pair ensures you continue to enjoy peak performance and style.
Extending the Life of All Your Meggings: Preventative Care
The best repair is often the one you never have to make. Proper care significantly reduces the likelihood of tears and extends the life of your GearBunch activewear, which is made-to-order with meticulous attention to detail.
- Wash Cold, Gentle Cycle: Use cold water on a gentle cycle. Hot water degrades spandex, making it susceptible to tears.
- Use a Laundry Bag: Protect leggings from snags with zippers or hooks by using a mesh laundry bag.
- Air Dry: High dryer heat damages elastic fibers. Air drying preserves shape and elasticity, preventing stress tears.
- Avoid Rough Surfaces: Be mindful of where you sit or rub. Rough surfaces can cause friction and snags.
Keep Moving Forward, Confidently
Dealing with a hole in your men's leggings does not have to be a setback. With these confident, no-sew repair techniques using fabric glue or iron-on patches, you can often give your favorite activewear a new lease on life. Assess the damage, choose the right method, and enjoy the satisfaction of a successful repair.
However, when the time does come for a fresh start, or if you are simply ready to expand your collection, GearBunch stands ready. Explore our extensive library of over 3,900 unique prints, from bold to subtle designs, all crafted for superior comfort and performance. Discover your next favorite pair and experience activewear that feels like it was made for you. Visit GearBunch.com today and elevate your activewear game.
Share and get 15% off!
Simply share this product on one of the following social networks and you will unlock 15% off!